What are Snippets and how to use them
Finding important meeting highlights from dozens of 60-minute calls is tedious work. Most teams never get to it, leaving insights and stories that never get shared. With Avoma, you no longer have to manually create snippets. Avoma’s AI now automatically detects key customer moments and creates ready-to-share snippets for you, so your best conversations and coaching opportunities never get lost.
You can still create your own snippets manually anytime — directly from the transcript, recording, or playback bar — if you want to customize highlights or add your own notes.
Common use cases include:
- Sharing customer feedback with your product or engineering team
- Highlighting issues or bugs for your support team
- Sharing best moments of a call with peers
- Creating coaching clips for onboarding and training
Snippets save time, reduce context-switching, and ensure everyone focuses only on what matters.
Prerequisites
- You must have access to the meeting recording or transcript in order to create a Snippet. This means you need to be the Host, a Participant, an Admin, or a Manager of the Host.
- The ability to create and share Snippets also depends on how your organization has set up meeting privacy policies and conferencing settings. For details, see:
How automatic Snippets work
-
Avoma’s AI automatically generates snippets from each recorded meeting based on key topics, customer intent, or notable conversation moments.
-
These appear under the Snippets tab as soon as processing completes — no manual action required.
-
You can rename, edit, or delete these auto-generated snippets just like manual ones.
-
To manually add new snippets or refine existing ones, see How to create a Snippet below.
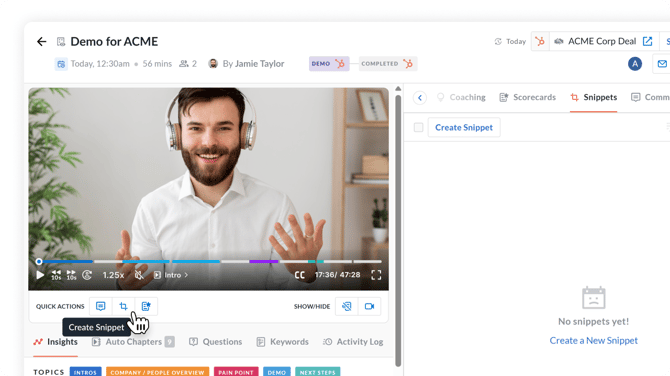
How to create a Snippet
1. From the Transcript
1. Open the meeting in your Avoma Dashboard.
2. Switch to the Transcript tab.
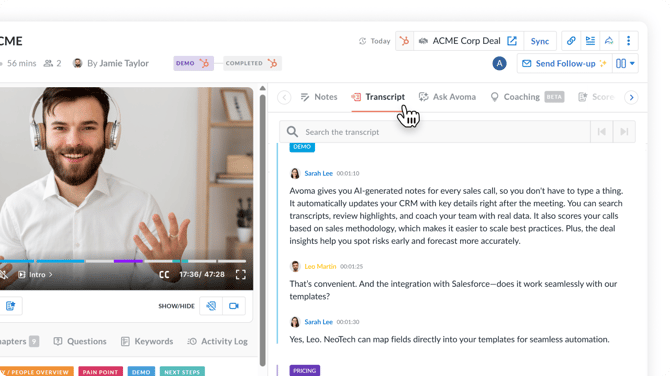
3. Highlight the text you want to snippet.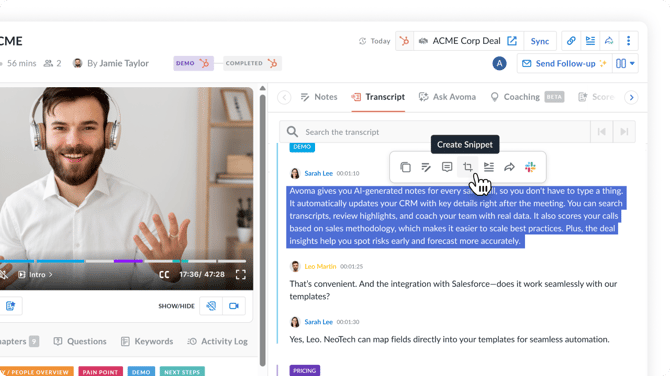
4. In the pop-up window, you can review the snippet you're creating. You can also give it a title (i.e. "Customer Product Feedback) and include a description.
5. Click Create Snippet
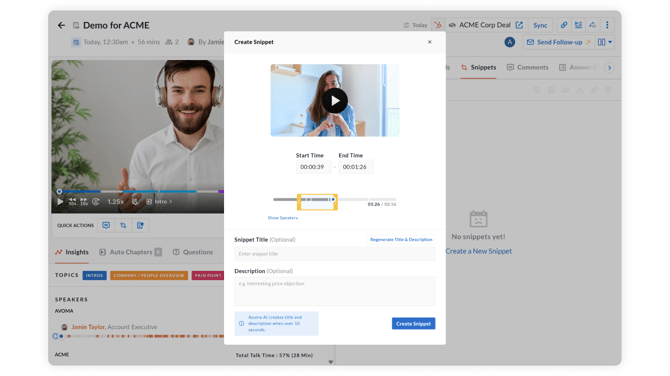
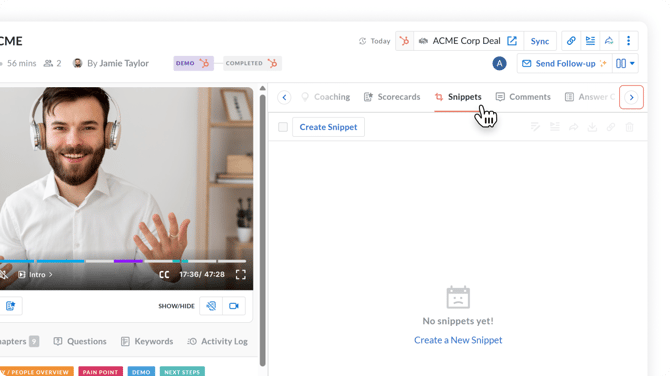
2. From the Snippets Tab
1. Go to the Snippets tab in the meeting.
2. Click Create Snippet.
3. Use the slider to trim or enter precise start/end times.
4. Add a title and description.

5. Click on Create Snippet.
3. From the Playback Bar
1. While watching the recording, click the Snippet button on the playback bar.
2. Adjust the sliders to capture the desired moment.
3. Use the slider to trim or enter precise start/end times.
4. Add a title and description.
.png?width=670&height=377&name=How%20to%20Create%20and%20Share%20Snippets%20-%20Screen%20%2310%20(1).png)
How to Share a Snippet
1. Navigate to the Snippets tab.
2. Click the Share icon next to your snippet.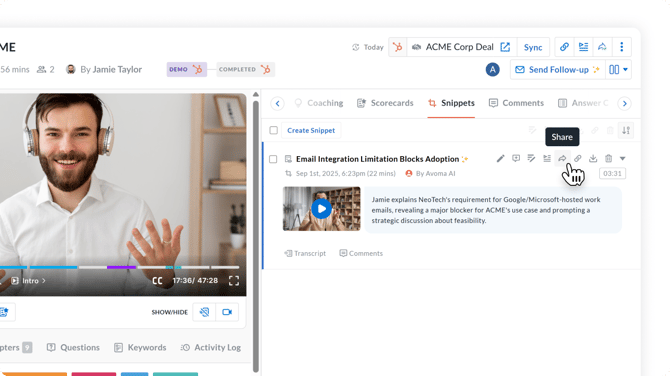 3. Choose access level:
- Private – Only participants and invitees can view (requires sign-in or one-time code).
- Organization – Anyone in your org plus invitees can view (requires sign-in).
- Public – Anyone with the link can view (no sign-in required).

- Email - Enter recipients, add a message, and click Send Email.
- Link – Click Copy Link and paste it into Slack, CRM, or anywhere else.
Best Practices for Snippets
- Keep them short—30 to 90 seconds works best.
- Add clear titles and descriptions for context.
- Use Private/Org access for sensitive customer data.
- Use Playlists to organize Snippets for coaching or onboarding. See: How to add items to a playlist.
If you have any additional questions, please reach out to our team at help@avoma.com.