This article provides step-by-step guidance for connecting your Gmail or Outlook account to Avoma.
Note: For advanced integrations between your email and Avoma’s Revenue Intelligence platform, please visit this article.
Prerequisites
- This feature is available for all paid plans in Avoma.
- You can only connect an email service that aligns with your login provider. Eg. If you have logged in with Google, you will only have the option to connect your Gmail account.
For Outlook users
- Active Microsoft Office 365 subscription
- Administrative approval for third-party application access (if required by your organization)
For Gmail users
- Active Google Workspace or Gmail account
Steps to Connect Your Email
- Login to your Avoma account and navigate to the Settings page
- Head over to the ”Calendar & Email” section under ”Your Account”

- Initiate the Oauth flow to connect your email account, either “Connect Gmail” or “Connect Outlook” based on your login provider.
- You'll be redirected to your email provider's secure login page to grant necessary permissions to Avoma.
- Return to Avoma and confirm your email account is successfully connected

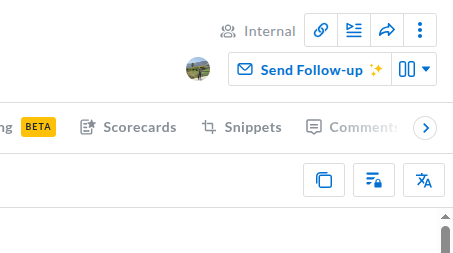
- Start sending emails! Head over to any meeting and look for the “Follow-up email” button on the top right. You can also use your email connection to send agenda emails before a meeting